
It took me a couple months, but I finally finished Nate's Father's Day present!
 Guess I should back up a little and explain. See, for Father's Day this year, the girls wanted to give Nate a Stars Wars blanket for our bed. Well, we had been having a lot of trouble finding a Star Wars comforter that was queen size. (They were all twin and full - go figure!) What do the girls and I do if we can't find something? Make it ourselves! So I started looking at fabrics when I'd go to Joann's to see if they had good stuff and I was playing out ways in my head to put a quilt together. Then, a week before Father's Day, I realized I had only one week before Father's Day! And I hadn't bought anything or done anything at all! (Most sane people would throw in the towel at this point and either fork over a good bit of money to buy a quilt off of Etsy or push the project back till Christmas. I am no sane person. ;) ) For that week, I ate, slept and breathed this quilt....well, when Nate wasn't home anyway. :) In the span of that week, I was able to completely piece together the quilt front and the quilt back. I still think that's crazy since it took me a couple years of working here and there to make both of my girls' quilts.
So Father's Day comes, and that is what we showed him - the front and the back...just not sewn together - with the promise of finishing it soon. Since I had been so hard-core about this Star Wars quilt for that week, I took a few days off before finishing it. It probably would have been done sooner had I realized we weren't going to be putting any batting in it. (That was one of my reasons for putting it off...my lazy butt didn't want to go get the batting....)
So, here it is! Nowhere near perfect, but happily received all the same. :)

Want to see how I did it? (Yes, even though I was in a major time crunch, I still stopped to take the time to take pictures for you. :) )
We decided on a chevron pattern for the front of the quilt: 4 zig-zags would be Star Wars fabric while the background fabric would be yellow. The plan was to have it bordered by the colors of the light sabers: red, blue, green and purple.
I laid out my yellow fabric and cut 32 squares that measured 10 1/2" x 10 1/2" -- the squares of the quilt will be 10" square, the extra 1/2" is for the 1/4" seam allowances. [I believe that 3 yards would be enough for all of the squares and the strips for the backing.]


Once all the yellow squares were measured and cut, I drew one line on the back of each square from one corner to the other.


Then I cut 8 blocks of each of my other 4 fabrics. [Note: I ordered a yard of each. It turned out to be enough since each fabric was patterned and I was strategically cutting the squares.]
After all the fabrics had been cut, it was time to pair the printed fabric squares with the solid yellow squares. Put the right sides of the fabric together, with the wrong side of the yellow facing up (so that you can see the line you drew).

Using the drawn line as a guide, sew 1/4" on both sides of the line. Do this for all 32 pairs of fabric.


After all of the squares have been sewn together, cut down the drawn line of each pair creating two triangles.

Now it's time to make the iron your new best friend. (I think the most time-consuming part of making this quilt was the ironing. I now loathe ironing. Not that I ever liked it before though....anyway, I digress.) Open up your triangles on your ironing board and admire your new squares. (Seriously, I was so pleased with myself the first time I used this technique. I was making a pinwheel block. :) )

After taking sufficient time to admire the ease with which you just created these awesome squares, it's time to iron the seams. Flip your squares so you are looking at the seams, spread the out with your fingers and then, very carefully, iron them open. After you've ironed them, you're going to notice the little "ears" poking out from the edges. Go ahead and trim those down.

To break up the monotony of the ironing and snipping, I made each row together after ironing each set of fabric. Lay out your squares as you want them to be. (You can see my drawing on the floor with me so I wouldn't mess up. :) )

Then I sewed in pairs; starting with the top row I sewed together the first two squares, ironed the seam open, replaced them on the floor, sewed the next two, ironed, replaced and so on ending with sewing the top row and bottom row together.


And then? You guessed it! I ironed the long seam open! :)

Repeat with each set of fabrics until you have 4 separate zig-zag rows.
Sew each them all together! And your quilt front is almost done!
Before adding the colorful borders, we need to size the fabric for the quilt backing. [It is also going to have a border, so we need to size them up together without the borders.]
I bought 4 yards of my backing fabric. I used a flannel white fabric with 'Star Wars' printed all over it in black. I had a really long piece of fabric that didn't match my quilt top. So I folded it in half, cut, and then sewed the two halves together to match the size of the top. I moved some tables around in my living room and laid out the backing. Then I laid out the quilt top over the top of the backing. I trimmed the back to match the front. Now for the borders!
As a border for the front, I used four colors: red, blue, purple, green. [You probably would only need 1/2 yard of each, but to be safe I'll recommend 3/4 yard -- allowing for possibly needing extra.]

Fold the fabrics selvage-edge to selvage-edge and iron the fold. Cut the raw edge to match up the front and back and to give you a straight line to work from. Each strip will be 4 1/2" wide. (I only needed two of each color.)


Sew the two strips of each color together and iron open the seams. Sew the color strips to the quilt top. One end of each strip will be even with the edge of the quilt top and the other end will extend 4 1/4 inch; after sewing the pieces together, trim as necessary.


After sewing the first color strip on, the second strip will connect with the first. Repeat the above steps. Continue adding on the rest of the color strips.

And then you have your quilt top!
Next comes finishing the backing. Cut 8 strips of the yellow in the same manner of the color strips. Sew two strips together to create 4 pairs. Sew them to the backing just as the front border was sewn to the front.
Now here is where I deviated from my initial plan. According to my sketch, I was going to buy black binding to finish the quilt off. Well, I never made it back to the store. [We were looking at buying a sizable number of packages of binding....so I made a new plan. However, if you want to stick with a black binding, you will need approximately 12 yards.] So what I did was fold the front over to the back to act as the binding.

I used the iron to create the folds to help me find where to sew. (I also don't like pinning. Not sure why, I just don't. So I try to find ways around it.) But I did use very large safety pins to help me hold the two layers together. [Or three layers if you want to use batting.]

I used a fun stitch to sew the layers together. I made sure the top thread and bobbin matched each color strip. (Be forewarned: I took a lot of pictures of the corners because I am very pleased with how my corners came out. :) )

Here is a close-up of the backside of a corner.

And this is the front of that same corner.

And some other close-up pictures because I am just that excited about this part. :)


Now, I'm pretty sure I did this out of order....but I tend to do things out of order anyway. :p After being pleased with how my borders and corners turned out, I wanted to sew the layers together throughout the rest of the quilt too. I used a black top thread and bobbin and sewed in the seams (or in the ditch) along the edges of the zig-zags. When you look closely at the back, you will see the zig-zags. :)

Now you get to stand back and admire your work. As I said in the beginning of this post--if you can remember that far back ;) --my quilt, or rather my husband's quilt, came out nowhere near perfect! But rather than feel completely discouraged, I found some things to be proud of. You have already seen the corners, and here are a couple other spots I found throughout the quilt to be excited about.
 |
| All these seams came pretty darn close to matching up perfectly. |
 |
| This point came out nearly perfect, where some others look chopped off a bit. |
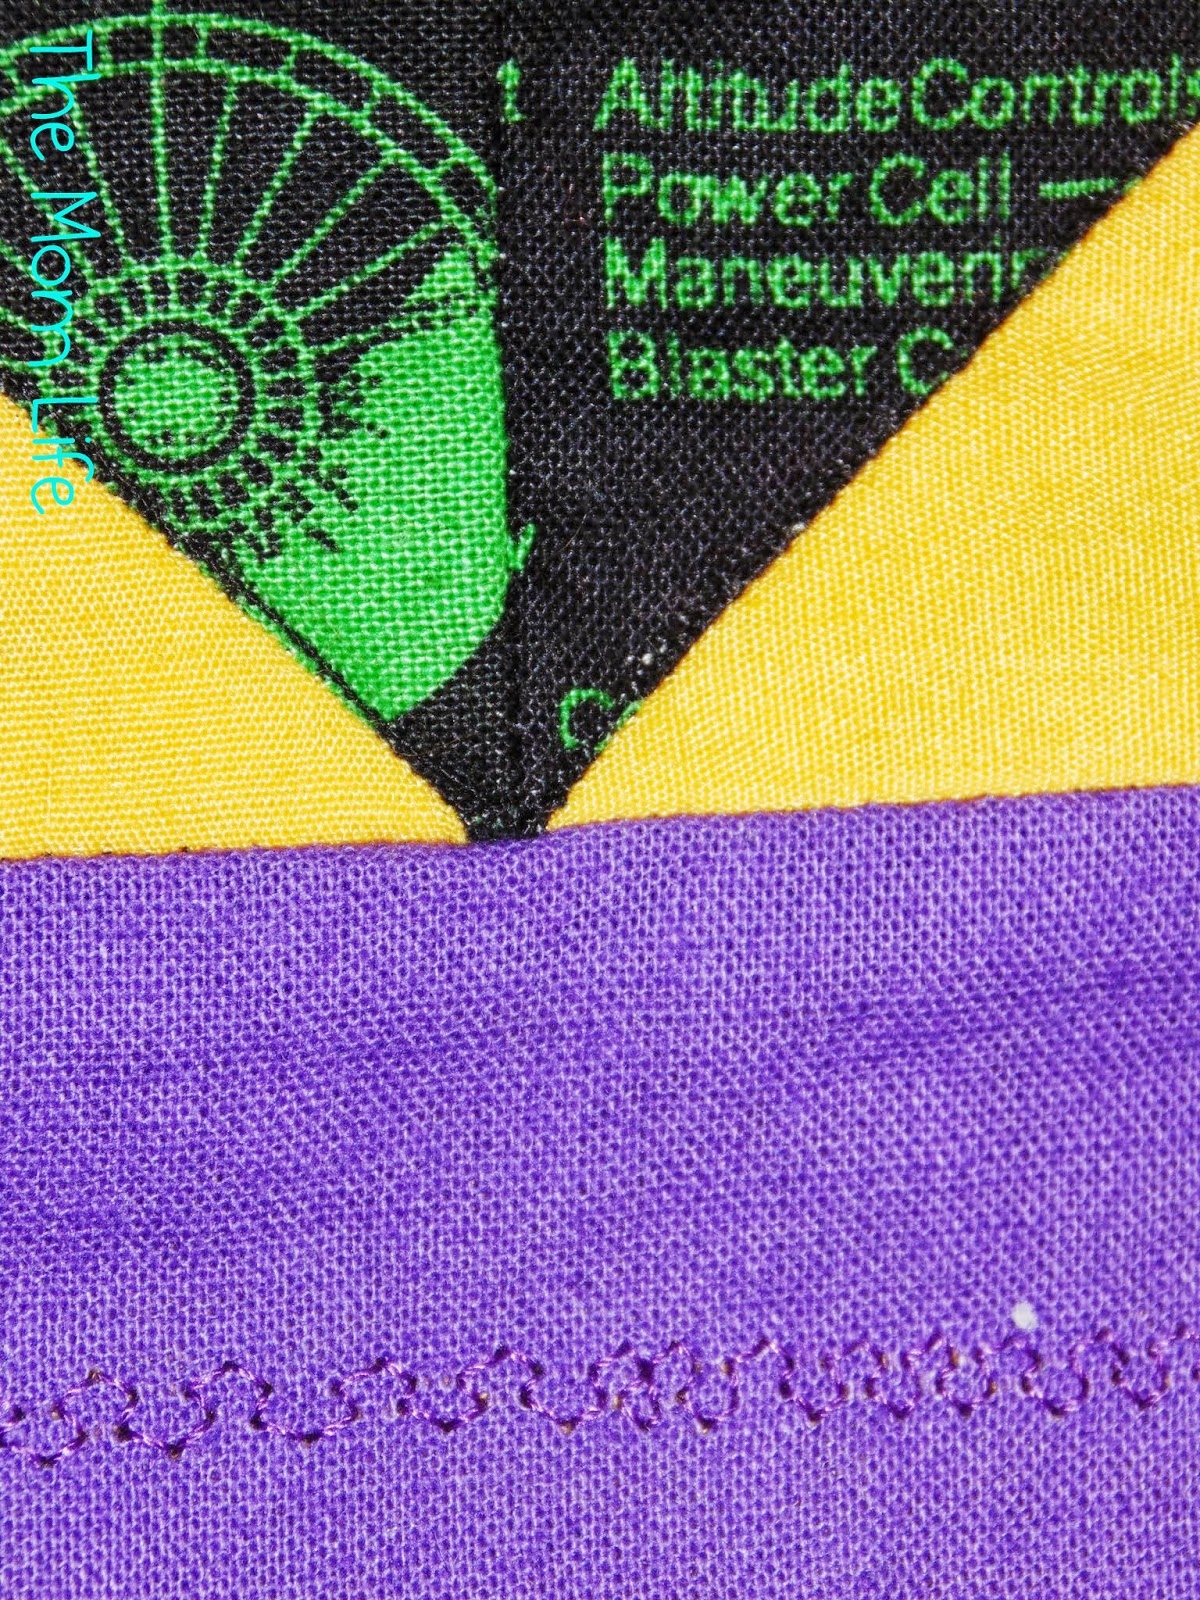 |
| This point looks pretty good and the thread matched very closely to the fabric. |
It may not be much, but it's enough to make me satisfied enough to want to try again another time. :)
Have you ever made a chevron quilt? Or attempted one? I'd love to hear about it! :)
